Without pulling or stretching, gently fold the binding over the glue line, you should ensure that the binding fold covers the stitches by about ⅛ of an inch.
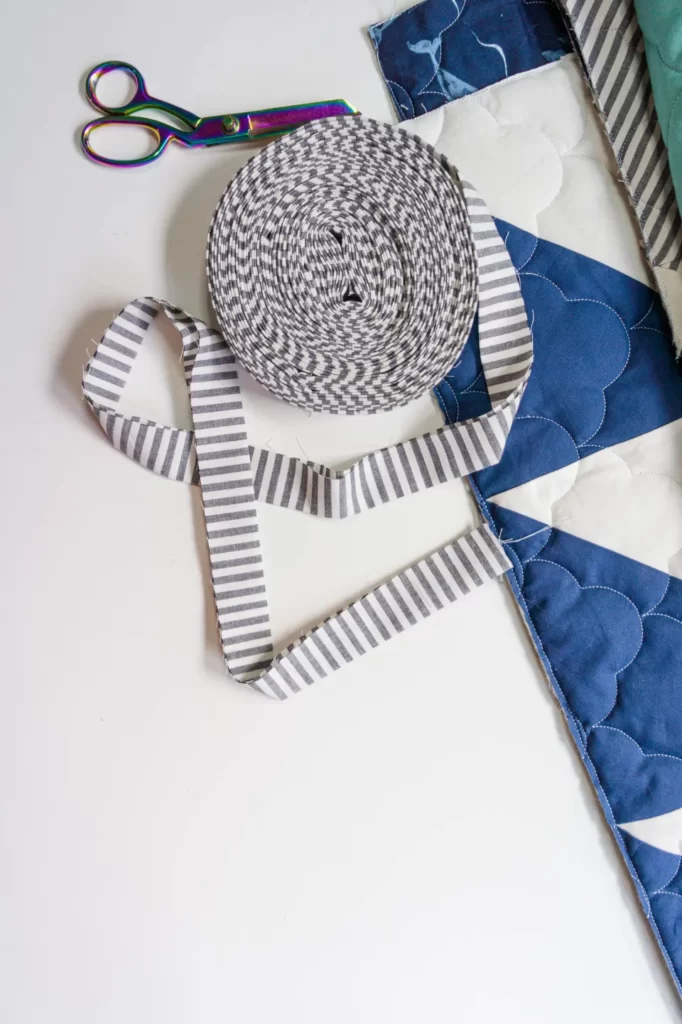
Machine Binding Supplies
- Walking foot (check your machine manual or your local sewing machine dealer if you need help)
- Ruler
- Rotary cutter
- Cutting mat
- Fabric scissors
- Pins
- Thread
- Washable glue (like Elmer’s School Glue or Roxanne Glue-Baste-It)
- Iron
- Bonus notion: Precision glue applicator (like Pen + Paper Fineline Glue Tips)
How to Machine Bind a Quilt
Step 1: Cut and Prepare Binding Strips
Cutting and preparing your binding strips is the first step. Many patterns use 2 ¼” wide binding strips in their allowances, which For machine binding a quilt, I find that it is effective.
Step 2: Sew Binding to Top of Quilt
You can watch a really helpful video tutorial that walks you through every step of binding a quilt in the section below. Suzy gives a great explanation of how to join the binding tails together at 4:31 in this video, which can be difficult to explain.
Whether you are hand or machine binding a quilt, this step of the process is the same.
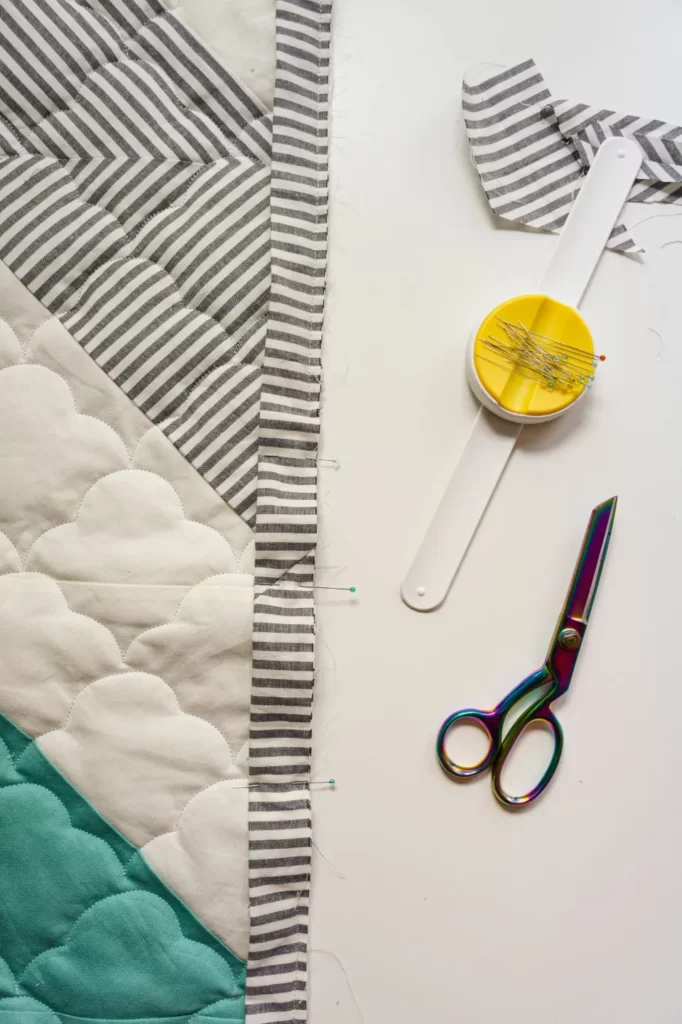
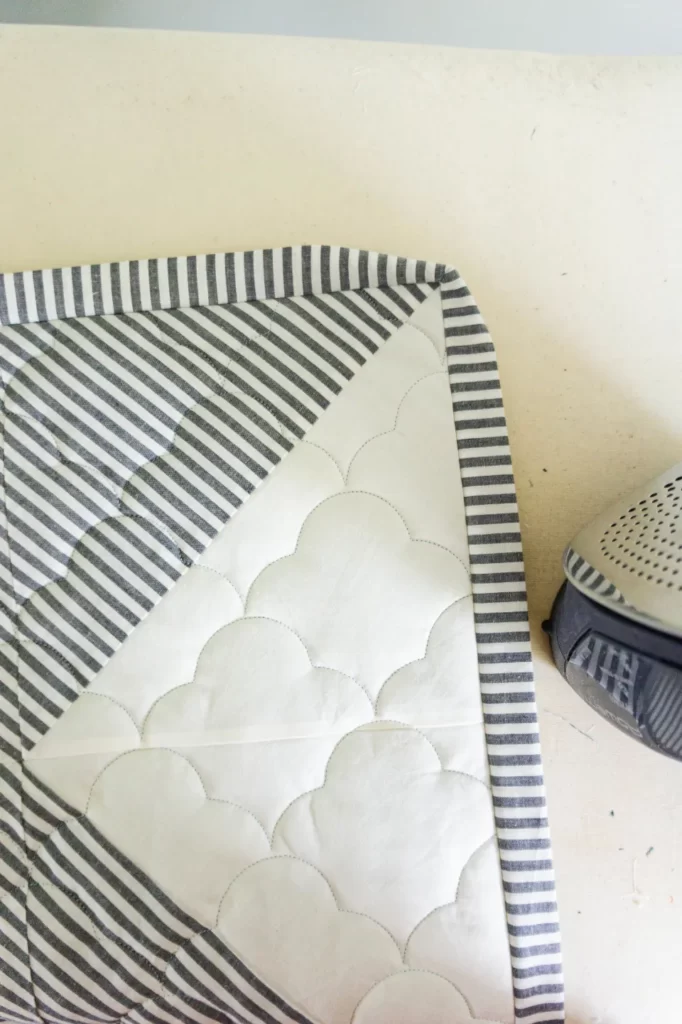
Step 3: Press and Baste Binding
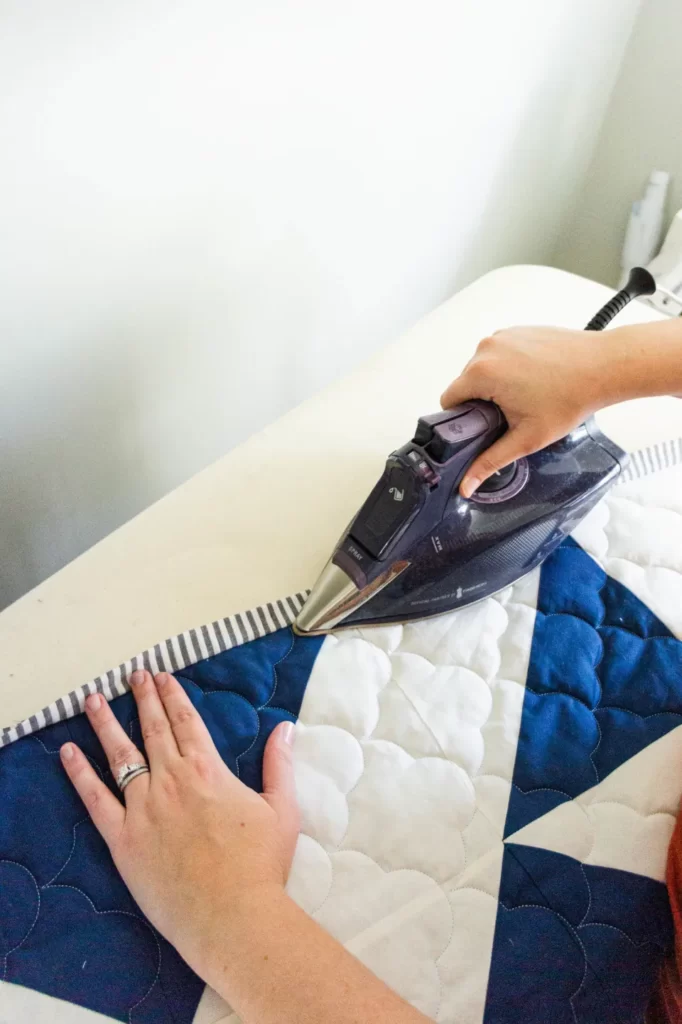
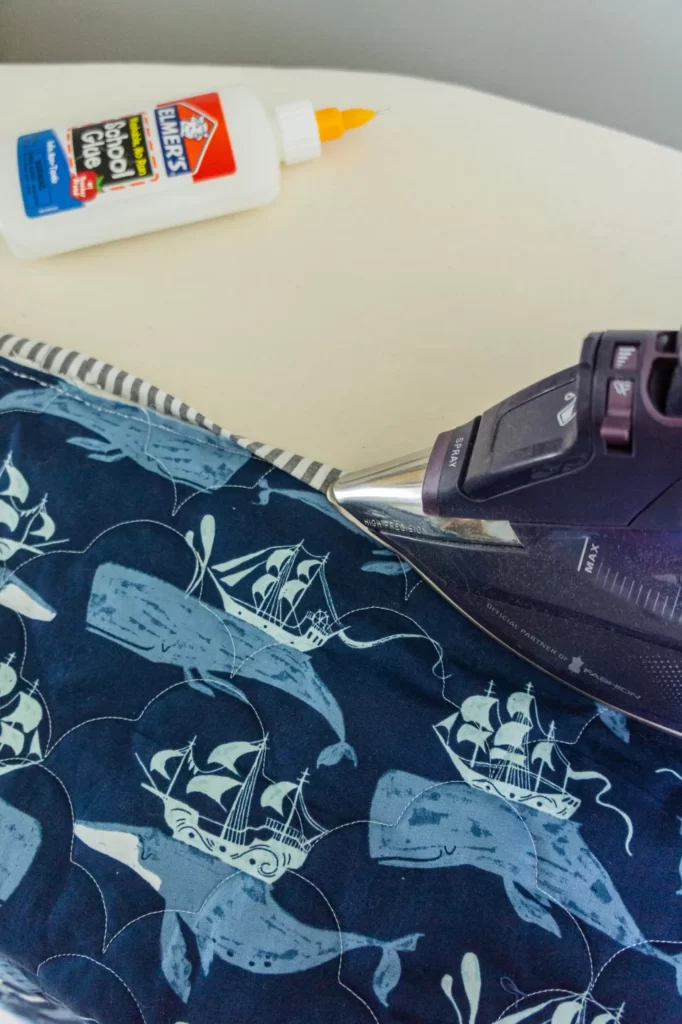
Use a dry iron to press the binding outward while the quilt top is facing up. Don’t skip it because it will make sewing and basting much simpler.
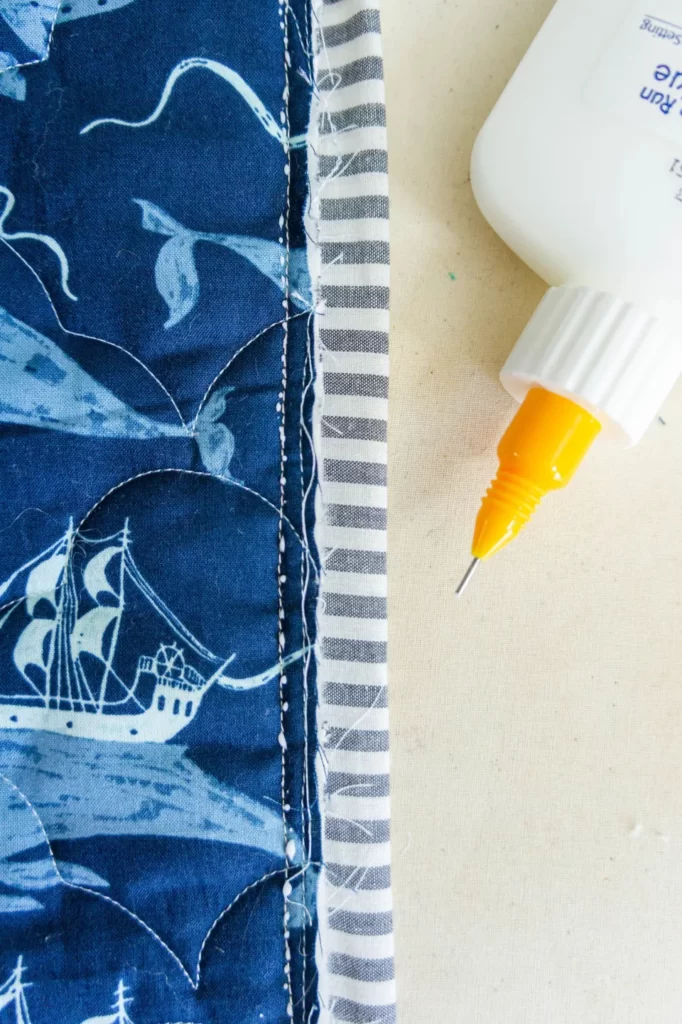
The basting technique will replace the need for pins and clips to hold your binding in place. It’s glue basting, so please start the drumroll! When machine binding a quilt, glue basting will ensure more precise stitches and help hold the binding in place.
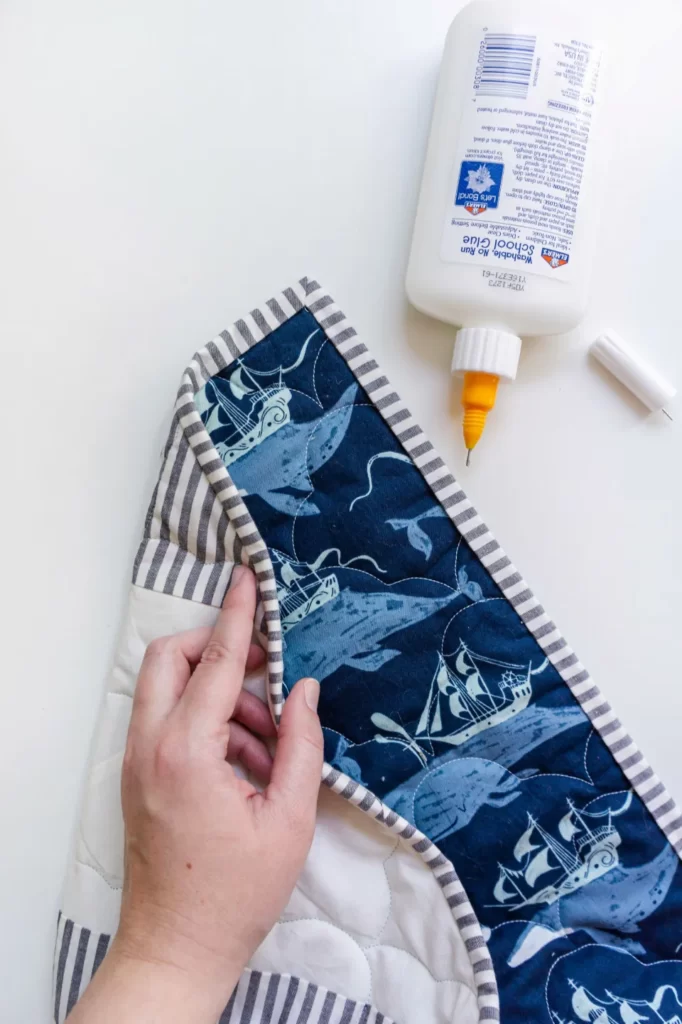
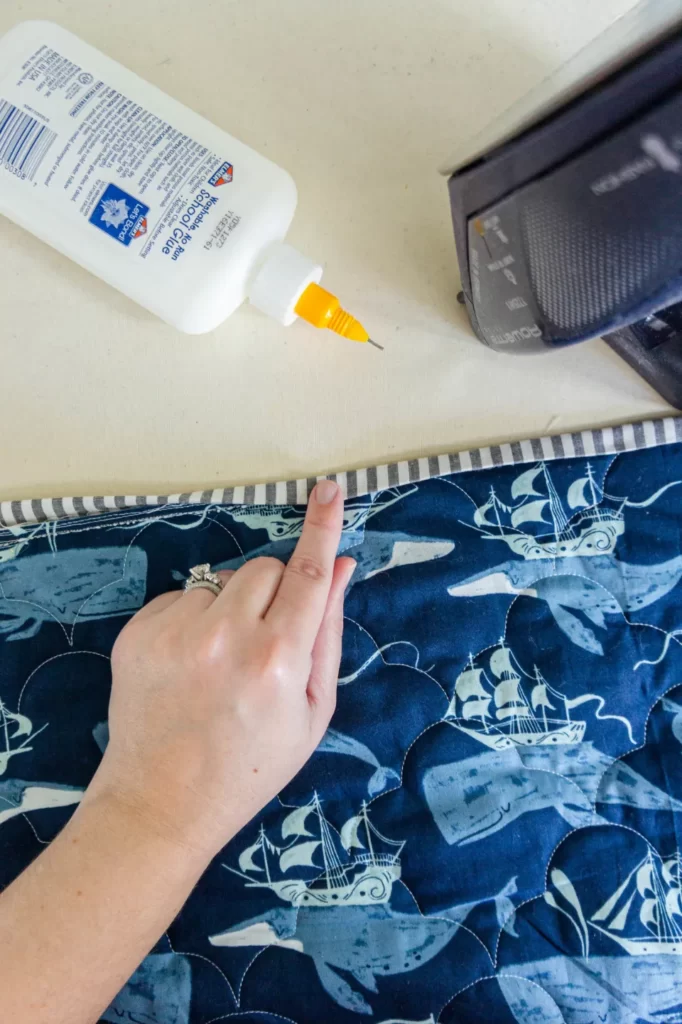
My go-to glue for basting is Elmer’s Washable School Glue because it’s affordable and available just about anywhere. I also control the glue application by using the Fineline glue applicator tip, as seen below. For a strong hold while you sew, just a tiny bit of glue is required! Once you wash your quilt, all of the glue will wash out.
To display the backing, flip the quilt over. In order to keep the binding attached to the front of the quilt, stitch a thin line of washable glue along it.
Fold the binding over the glue line gently without pulling or straining it, making sure that the fold extends about 1/8 of an inch past the stitches. To heat-set the glue, press with a dry iron.
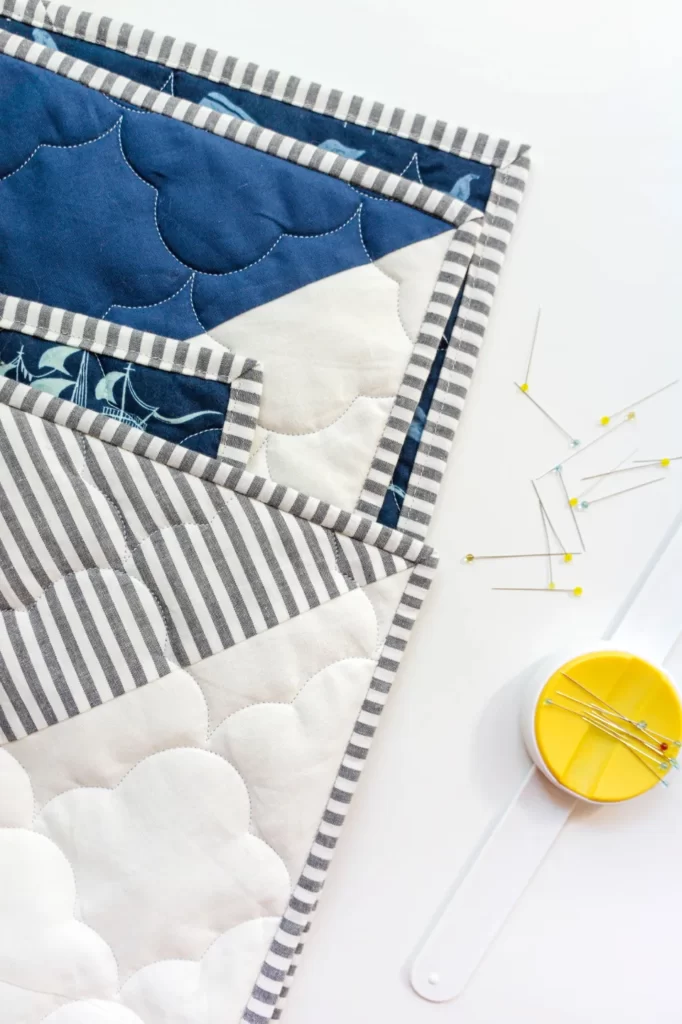
Until the binding is completely basted, adhere, fold, and press all the way around the quilt.
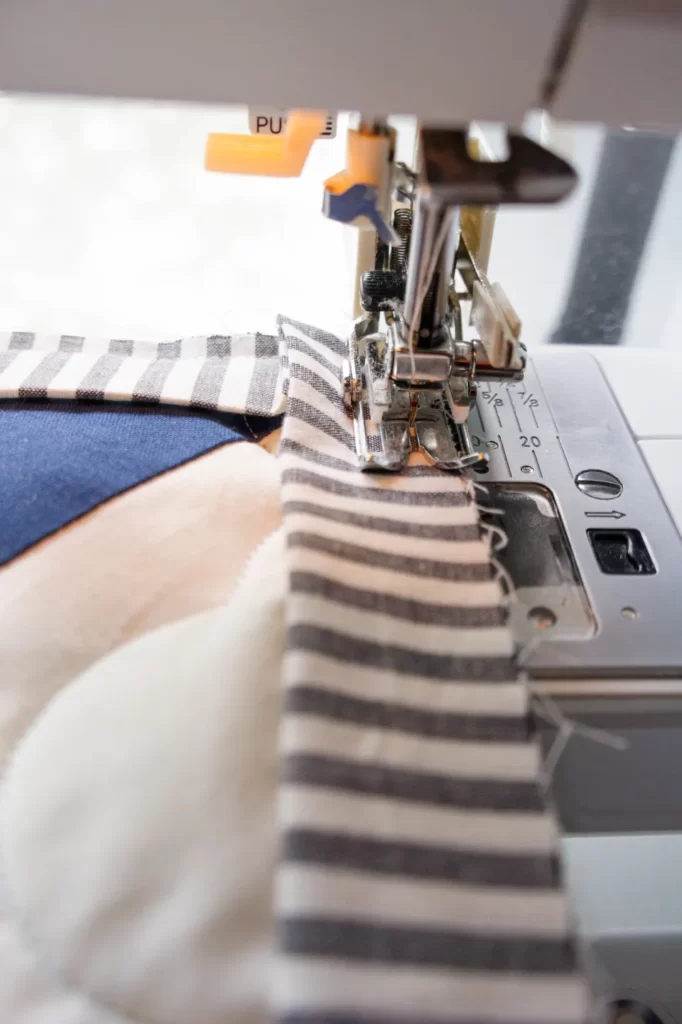
Step 4: Sew Binding to Back of Quilt
Your binding will appear to be almost finished by this time. Now all you have to do is use your sewing machine to stitch the binding in place.
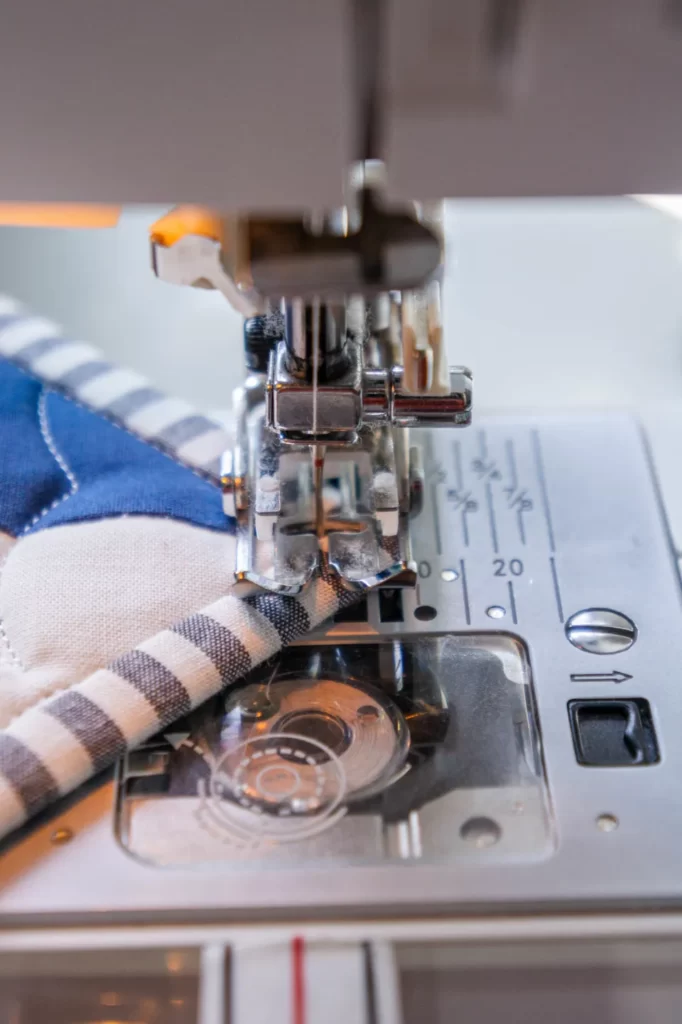
To machine bind a quilt, you will sew in the “ditch” between the binding and your quilt top. When you “stitch in the ditch,” your stitches on the front of the quilt will be hidden by the puff/rise of the surrounding binding and quilted top. The quilt’s back only has stitches visible along the binding’s edge, giving it a very tidy, finished appearance.
Since you’ll be sewing through several layers of fabric and batting during this step, a walking foot will be useful. To ensure that my stitches fall perfectly in the ditch each time, I like to align the inner edge of my binding (the part touching the ditch) with a part of my walking foot, then I adjust my needle so that it falls perfectly into the ditch as I sew along.
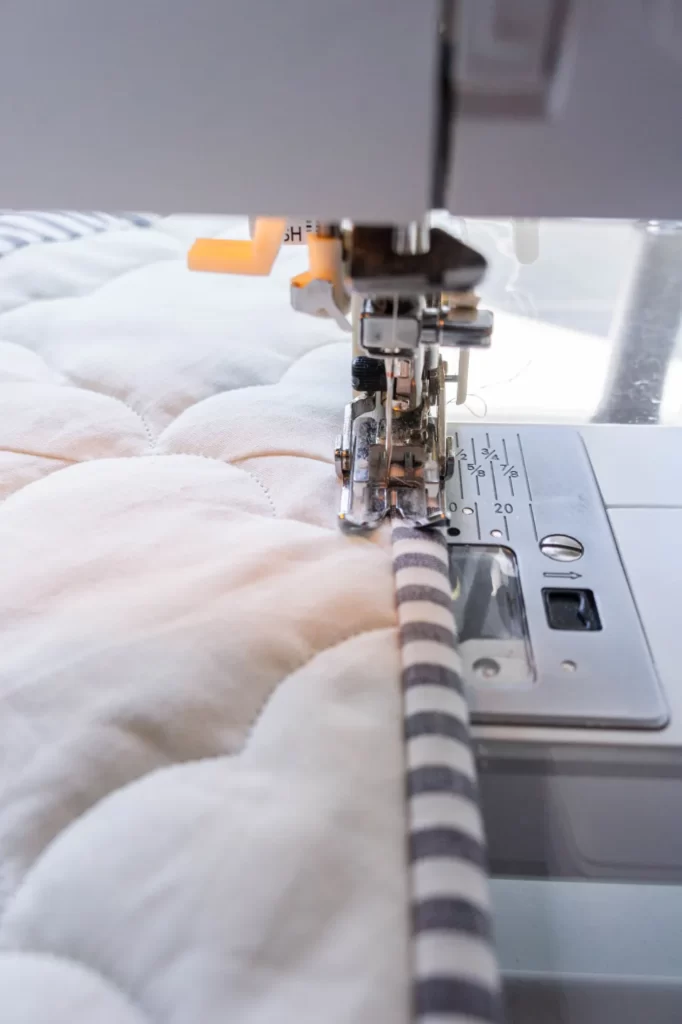
With your quilt facing up, stitch in the ditch along the perimeter of the binding. When you reach a corner, put your needle down and rotate the quilt to achieve a right angle in your stitching. When you get to your starting point, secure the binding in place by backstitching a few stitches over your starting stitches.
Step 5: Check for Missed Areas on Your Machine Binding!
By nature of binding a quilt by hand, you’re able to ensure that the binding is securely stitched all the way around the quilt. However, when you machine bind a quilt, you will only see what you are sewing from the frontside of the quilt, and there’s a chance some of the stitches might not catch the binding in the back. To ensure that the binding is sewn on completely, it is a good idea to check the back of your quilt.
If there’s a section of binding the stitches missed, it can easily be fixed! Make sure the front binding stitches are firmly covered by the binding, then bast the binding. Then, flip the quilt back over to the frontside and stitch in the ditch again, making sure to backstitch at the beginning and end of the section so it doesn’t come undone.