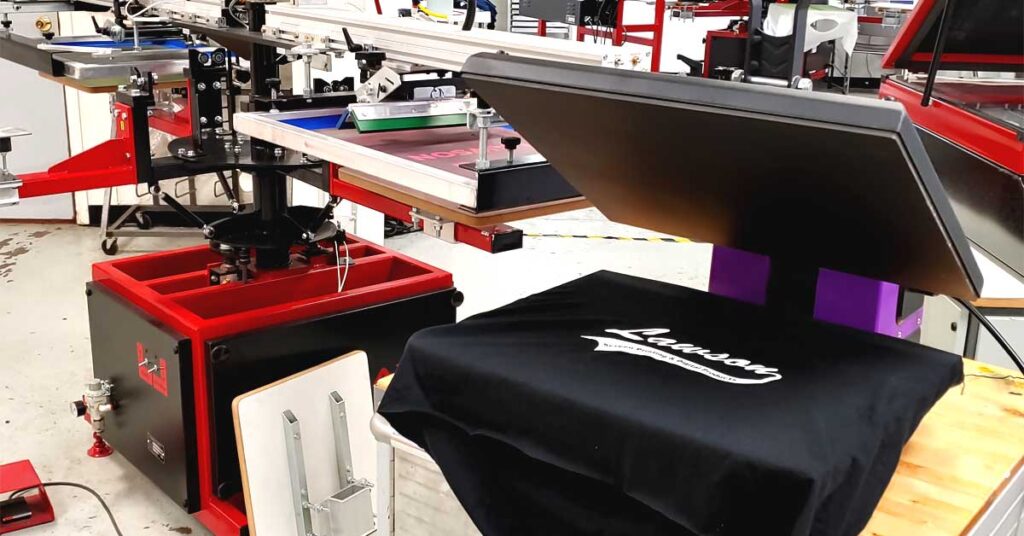
The heat press is intended to provide heat and pressure to the material in a specific time frame. They are often employed with textiles, but there are other machines that can make cups, caps, plates, or headgear.
The heat press is simply ironing equipment that allows you to transfer artistic designs to various fabrics by applying pressure and heat (such as T-shirts, etc.). The t-shirt heat press machine comes in a number of sizes, and the one you choose depends on the design size you want to utilize.
A heat press is similar to a domestic iron. However, as compared to household irons, the advantages of the heat press machine include: the ability to adjust the time, better regulate the temperature, manage the pressure by twisting the knob, and will not burn your cloth easily, resulting in superior quality handicraft.
How to use a heat press
What you will need:
- Heat press machine (or iron if you don’t already have one)
- A chopping machine (like a Cricut or Silhouette, only needed if using heat transfer vinyl)
- You wish to press a fabric or cloth (t-shirts work great)
- Heat Transfer Vinyl Design (or transfer paper)
If you don’t already have a machine, I’ll be creating an article about how to choose one soon, but for now, I’m using a Cricut EasyPress.
You’ll have the option of employing transfer paper (Cricut refers to their brand as infusible ink) or heat transfer vinyl. If you have a cutting machine, I’d go with vinyl; otherwise, an infusible ink will be simple to get started with.
Step 1: Gather your resources.
There are several fabric alternatives, and what you choose initially may be determined by what you have to work with. However, some textiles should be avoided by novices, such as some synthetics, particularly thin fabric (especially if you’re dealing with vinyl), water resistant fabrics, or fabric made to wick perspiration or with a lot of pores. Neoprene (like a mouse pad) can be utilized, but only with certain heat transfer materials.
I propose the following fabrics:
cotton \spolyester \snylon \sspandex \sleather
After you’ve decided on a cloth, you’ll want to press it (if you can). Allow them to dry completely before proceeding to the next step.
Step 2: Select a design
If you’re using transfer paper, the first thing to consider is what colors you can print with and having a design that matches.
What exactly do I mean?
You’ll have problems printing anything white with a conventional printer, just like you’d have trouble printing a mirror.
If you have a white design and aren’t wearing a white t-shirt, I propose altering that section of the design to off-white or slightly colored.
Similarly, HTV has the constraint of only being available in one color per sheet/roll. So, depending on your design, you’ll automatically gravitate toward transfers or HTV.
Step 3: Select your press
The first step in your trip should be to select the proper press for you. If you’re beginning a t-shirt business, you should thoroughly research your possibilities. A tiny press, for example, may only be suitable for certain designs, whilst a larger one allows you to cover a full t-shirt. Similarly, you may wish to print on a greater variety of items, in which case a versatile machine would come in in.
Step 4: Print your artwork
The transfer paper is an important component of the heat pressing process. This is a sheet with additional wax and pigment on which your design is first printed. In the press, it is put over your clothes. Transfers are classified according to the kind of printer and the color of the substance. Here are a few of the most frequent.
- Inkjet transfers: If you have an inkjet printer, be sure you have the proper paper. It is vital to understand that inkjet printers do not print in black and white. When heat pressed, whatever element of your design is white will appear as the color of the garment.You can get around this by selecting an off-white hue (which may be printed) or ironing on a white garment.
- As previously said, there are several types of paper for different printers, and they do not operate interchangeably, so be sure to select the correct one. Laser printer paper is said to produce somewhat worse results than inkjet paper.
- Sublimation transfers: Because this paper requires sublimation printers and special ink, it is the most expensive alternative. The ink here becomes gaseous and permeates the cloth, permanently coloring it. However, it only works with polyester fabrics.
- Ready-made transfers: You can also acquire pre-printed graphics that you can place in the heat press without having to perform any printing yourself. You may also use your heat press to apply heat-sensitive adhesives on the reverse of embroidered motifs.
When dealing with transfer paper, there are various factors to keep in mind. The most fundamental is to print on the proper side. This may appear apparent, yet it is easy to get incorrect.
Also, print a mirror image of the image you see on your computer screen. This will be reversed in the press, resulting in the precise design you want. It’s a good idea to test-print your design on plain paper to see if there are any errors – you don’t want to waste transfer paper for this.
Transfer paper designs, particularly those created with inkjet printers, are kept in place by a coating layer. It has a yellowish tone and covers the entire page, not just the pattern.
This film is transmitted to the material when you heat press the design, which might leave small traces around your picture. If you wish to avoid this, cut the paper as close to the design as possible before pressing.
Step 5: Turn on the machine.
Because heat (combined with pressure) will accomplish the majority of the job for us, the machine should be adjusted to the proper temperature. You can burn the material and bleed the pattern if you use too high a temperature. If the temperature is too low, you may experience adhesion difficulties with vinyl or a transfer that does not totally take.
Your equipment will come with precise specs for each type of material. If you don’t have the instructions, quickly check it up and be sure you dial in that heat. Some people prefer to pre-press their cloth to warm it up, but in my experience, this isn’t essential.
You should open your heat press and keep it open while it heats up. Depending on the equipment, you’ll see either a manual dial or a computerized control. When it’s warmed, your preheat light will turn on, indicating that we’re ready to start!
If you’re working with an unlisted substance, I’d start at 340 degrees and work my way up.
When using an iron, set it to high or cotton. Check that the steam feature is turned off.
Step 6: Configure the pressure and timer.
Heat is a significant factor, but pressure and time are as critical. You might have the appropriate temperature adjusted, but if you don’t apply enough pressure or press for long enough, your design will suffer.
The pressure is normally regulated by rotating the knob on top. Turning it clockwise increases the pressure. You receive it if you spin it counterclockwise!
For most materials, you’ll start with a medium pressure, but if your handbook specifies a specific setting for what you’re working with, stick to it! If it isn’t mentioned in the instructions, examine the material you bought; it will tell you precisely what the settings should be.
Vinyl prefers medium pressure, 320 degrees, and 15 seconds.
For a half sheet design, transfer paper prefers medium pressure, 350 degrees, and 45 seconds.
If you’re using an iron, experiment a little. You should never exert so much pressure that you get weary, but you should obviously push down forcefully.
If your press does not indicate the pressure you’ve set or if you’re having trouble, try the dollar bill test! You’ll switch off the machine, wait for it to cool, and then slide a $1 note into the machine’s side. Adjust the pressure until you can’t easily pull it out, and you’re done!
Step 7 – Insert the fabric
This portion is straightforward; we’re nearly there!
The design side should be facing up. Check that it isn’t bunched up; you may pull it tight enough to resemble a hotel sheet. For this stage, you should err on the side of stretching out, since, like a tattoo, it will appear better as it compresses than if it extends out more in the future.
If desired, you may also pre-press here. This involves shutting the press on your material and heating it for around 10 seconds. If you have an iron, use it to do what it does best: iron those wrinkles!
If it’s anything like a t-shirt, ensure sure the cloth is properly positioned. You’ll want to tag up and face the rear of the machine for this next phase.
Step 8: Position the design
With the t-shirt inside your heat press, you can now exactly position your design on the cloth. You must exercise extreme caution here, not just because you risk ruining your design, but also because this is an extremely hot press.
Some individuals like to align their design before transferring it to the press, while others prefer to switch on the heat press afterward so they don’t have to bother about it. Your personal tastes will emerge over time, but keep in mind that these are considerations that even seasoned makers argue!
If you’re using transfer paper, make sure to lay it on the shirt facing down. This implies the shiny side is up!
You want the sticky side down if you’re using HTV. If you have a Teflon pillow or sheets, you may place one on top of the pattern to keep the HTV from clinging to the top plate, but this is entirely optional.
Some challenging fabrics, such as those that are not totally flat or contain buttons/thick ridges that prevent the HTV from lying flat on its own, necessitate the use of a pillow.
Step 9: Begin the presses!
Now that everything is in place, it’s time to press! Phew! Check that the timer is properly set, then pull the handle down until it locks, and the timer should begin counting down.
When the timer goes off, open the press again and let the t-shirt to cool briefly. If you peel vinyl too soon, it will peel straight off the material, so take a few seconds and savor your success!
Step 10: Take off your shirt.
Heat press shirt design peeling
You may now remove the transfer paper or pull up the backing when it has cooled (it should not be entirely cold, but it should be safe to touch).
Yay! We succeeded!
Heat pressing hats
Now that you know how to heat press a shirt, you’ll see that the same principles apply to caps. You may treat them with a flat press or a special hat press, which is considerably easier.
Transfer paper may also be used here, but heat transfer vinyl is the quickest way to apply graphics on caps. This material comes in a variety of colors and designs, so choose your favorites and cut out the shapes you wish.
Once you’ve decided on a design, apply it to the cap with hot tape. If you’re using a flat press, use an oven mitt to grasp the cap from the inside and press it against the heated platen. Because the front of the cap is curved, it is recommended to push the center first, followed by the sides. You must ensure that the full surface of the design has been heated so that you do not wind up with only a portion of the pattern.
Several replaceable curved platens are included with hat presses. They may cover the full surface of your design at once, eliminating the need for hand manipulation. This is applicable to both hard and soft hats, with or without seams. Tighten the cap around the proper platen, draw the press down, and wait the time specified.
After you’ve finished heat pressing, remove the heat tape and vinyl sheet, and your new design should be in place!
Mugs for heat pressing
If you want to expand your printing company, you might try adding designs to mugs. Mugs are a popular present, especially when personalized, and are frequently treated with sublimation transfers and heat transfer vinyl.
Mugs for heat pressing
You’re set if you have a multifunctional heat press with cup attachments or a separate mug press. Cut or print the desired image and adhere it on the cup with hot tape. After that, simply place the cup in the press and wait a few minutes. The actual time and heat settings vary, so check the directions on your transfer packing carefully.
Conclusion
I hope you feel a little more knowledgeable now than you did at the start! Learning how to operate a heat press machine totally transformed my attitude to crafts; I no longer shy away from t-shirts or even sewing jerseys for my children’s sports teams.
If I were to create my own firm, I would ABSOLUTELY, 100% acquire one of them right away, but only after ensuring there was adequate demand.
Please let me know in the comments if you appreciated the guide, and please share it if you found it useful!
Tips for using a heat press:
- Don’t be afraid to use a lot of heat since it needs a lot of heat to correctly and evenly transfer the artwork.
- If you don’t use a lot of heat, the artwork may not adhere correctly to the garment and cause problems while washing.
- If you’re afraid of burning the tee shirt, test the print on an old shirt that you don’t mind burning.
- It’s usually daunting the first few times, but your confidence will grow as you learn how to print shirts and eventually utilize a heat press machine.Actually, the guideline is rather simple: simply adhere to the prescribed temperature for each cloth on the transfer paper.
- Load the garment immediately onto the heat press.A misaligned print is the last thing you want.